How to split rent, utilities, and groceries with roommates
Start with one household group
When one roommate pays rent, another covers internet, and someone else buys groceries, a list of payment requests gets confusing quickly. You need to see both what each person paid and what each person actually owes.
Create one SplitMyExpenses group for your household. Add a shared expense when someone pays, choose the people included, and record payments when you settle up. The group keeps the purchases behind each balance visible.
Agree on the split before adding the bill
Use a split that matches the bill rather than applying the same rule to everything:
| Shared cost | A useful starting point | What to agree on |
|---|---|---|
| Rent | Exact amounts or percentages | Different room sizes or an agreed rent ratio |
| Internet | Equal split | Which roommates share the service |
| Utilities | Equal split or shares | Whether time away changes anyone's share |
| Groceries | Receipt itemization | Personal items and food shared by only some people |
| Household supplies | Equal split among participants | Who uses the purchase |
The guide to bill split methods explains equal, percentage, shares, adjustment, exact amount, and itemized splits. Agree on the arrangement with your roommates; the app records your choice.
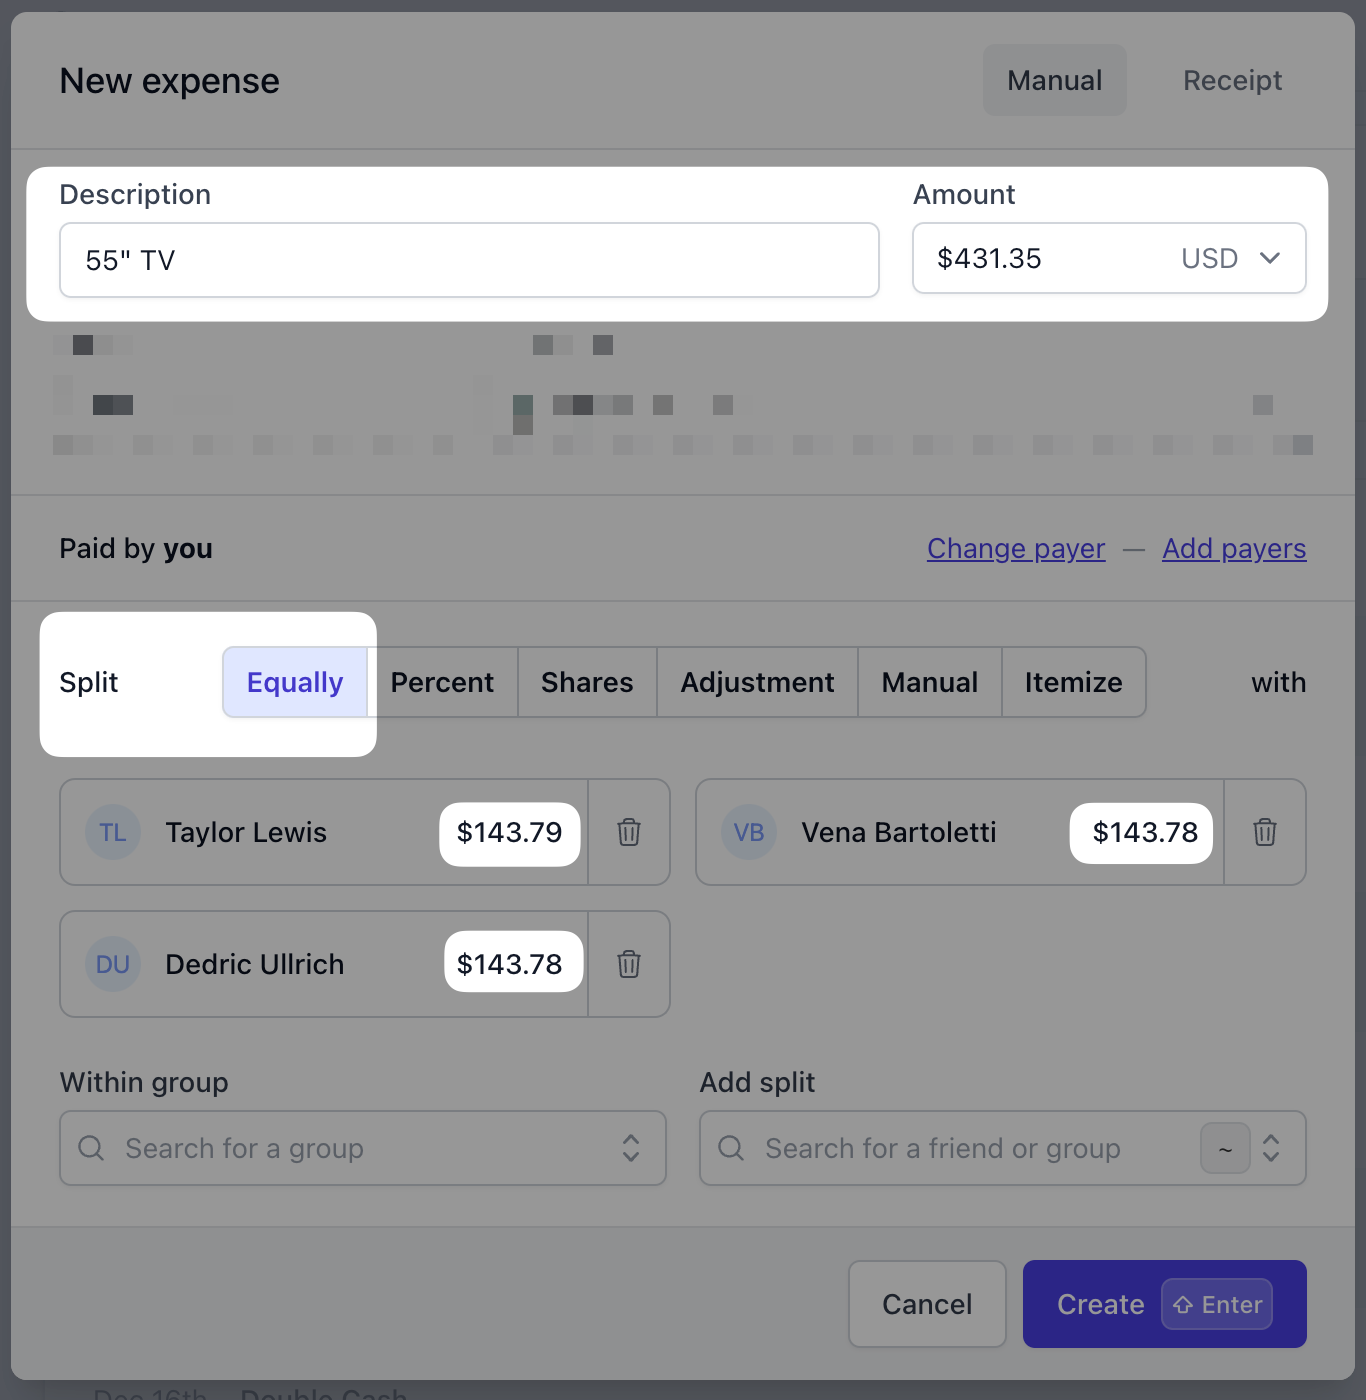
Example: two roommates pay different bills
Alex pays a $120 electricity bill, and Sam pays $40 for internet. They agree to split both equally.
- Alex's share of the two bills is $80, and Alex paid $120.
- Sam's share is $80, and Sam paid $40.
- Sam owes Alex $40 after both expenses are recorded.
Keep both expenses in the group instead of sending separate requests for $60 and $20 in opposite directions. If your household uses several currencies, review each currency's balance separately.
Set up the household in SplitMyExpenses
- Create a group and add your roommates.
- Add the rent or utility bill with its date, currency, total, and payer.
- Include only the people sharing that bill and choose the agreed split.
- Review the amounts before saving.
- Use the group balance when it is time to settle up, then record the payment.
For costs that repeat with the same amount and split, create recurring expenses. Change the recurring setup when your agreement changes; editing a single occurrence does not update future bills.
Default group splits can save time when most new expenses use the same ratio. Creating and applying defaults requires premium access. You can still choose a split manually for a particular bill.
Keep groceries separate from personal purchases
A shared shopping trip does not mean every item belongs to everyone. Use the restaurant and receipt itemization guide to assign shared items and personal items to the right people. Review tax, discounts, and the final total before saving.
If you already track household costs in a spreadsheet, you can import an expense file directly into a group. Review the imported expenses and choose their participants and splits before relying on the balance.
Review and settle on a regular schedule
Choose a day to check the month's expenses together. Fix missing participants or incorrect totals before anyone sends money. Our balance and debt guide shows how to review the debts behind a group balance.
When someone pays using Venmo or another payment method, make sure the actual payment and the recorded payment match. A request is not proof that the money arrived. The Venmo settlement guide walks through that workflow.
What is free, and what requires premium?
Core expense entry, manual splits, groups, balances, and settlement tracking are free. The free plan supports 10 recurring expenses. AI receipt scanning, linked financial accounts, and creating or applying default group splits require premium access. Check the current plan details before choosing an automation workflow.
Create your household group and start with the next bill you share.

Creator of SplitMyExpenses.com